
VISA PHOTO PREPARATION
Can you scan a printed U.S. visa photo? A 300 ppi workflow
The State Department allows scanning an existing 2 × 2 inch photo at 300 pixels per inch, provided the result also meets its digital image requirements. Scan the original photographic print, not the portrait embedded in an identity document.
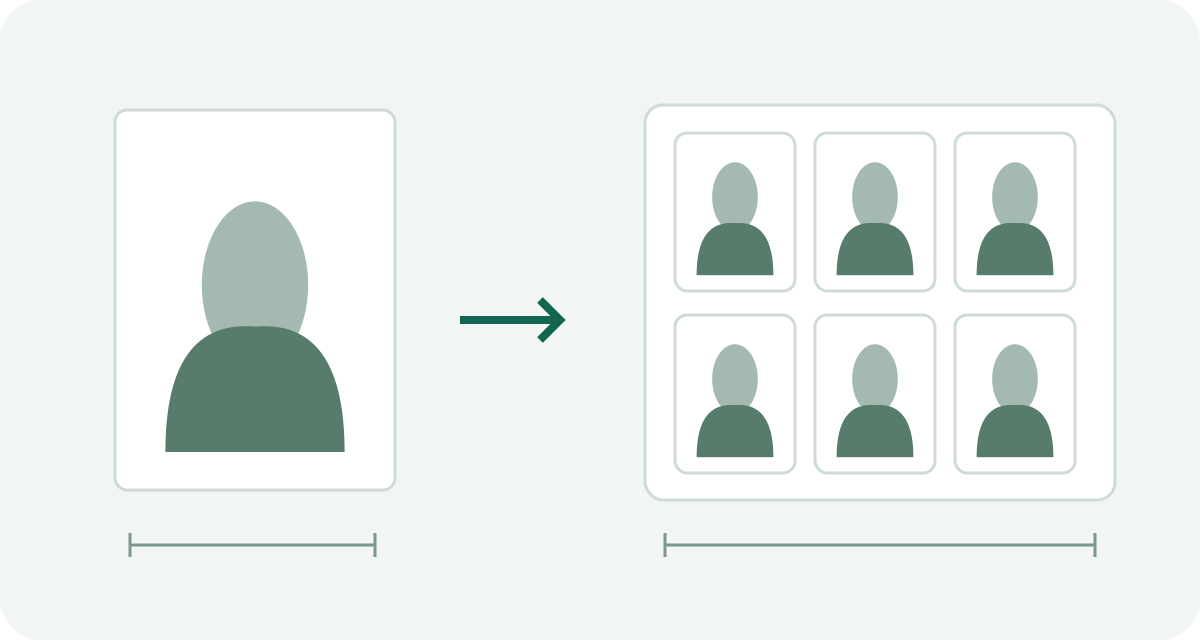
Which item are you scanning?
A loose photographic print, a photocopy and a passport data page are different sources. This workflow covers the first. If an application asks for a passport page, keep the whole requested page in that document upload; do not extract its portrait for the separate photo field.
The official scanning section specifies the print size and scan resolution. It does not make an old, damaged or badly framed picture acceptable. Check the original against the current visa-photo requirements before using the scanner.
Set the scan area before pressing scan
- Clean the scanner glass and handle the print by its edges.
- Place the print flat. Select only the photographic image as the scan area, excluding the surrounding glass and any mounting sheet.
- Choose a color scan at 300 ppi. Disable automatic document cleanup and beauty effects.
- Save a working copy, then prepare the required digital export from that copy.
Why does the scan area matter? A full scanner-bed image contains extra space around a small portrait. Resizing that whole image to a square would shrink the face along with the empty area.
Check what 300 ppi actually produced
By calculation, a 2-inch side scanned at 300 ppi produces 600 pixels. Two inches is exactly 50.8 mm; the official page rounds its metric equivalent to 51 mm. Use the specified 2-inch print as the starting point rather than treating these rounded labels as competing standards.
Look at the saved file's actual width and height. Typing 300 into resolution metadata after a low-resolution scan does not recover missing detail. If a scanner adds a border, correct the scan area rather than stretching the whole frame.
Inspect damage before preparing the JPEG
Open the scan and look for scratches, paper texture, dust, glare and softness around the eyes. Was the defect on the glass or on the print? Rescan after cleaning the glass if appropriate; obtain a new photo when the source itself is unsuitable.
Do not paint over facial defects or reconstruct features with AI. The exported file still needs the required format, color space, dimensions and file size. A successful scan is one preparation step, not approval of the photograph.
Keep a useful scan record
Record the print's capture date, measured size, selected scan area, scanner resolution and final file dimensions. Keep the original print and original scan until the application is complete. If the result fails, those details help distinguish a source-quality problem from an export mistake.
Sources and scope
- U.S. Department of State: digital image requirements
- U.S. Department of State: visa photo requirements
Sources checked October 13, 2026. Prepared by Visa Photo Prep with AI assistance for research and drafting. Worked examples are calculations, not measured applicant results. Use the current instructions for your application; the receiving authority decides whether a photograph is acceptable.
Historic discussions helped identify preparation problems. Current official guidance and product documentation support the rules and technical explanations here. A tool setting is not government approval.